The first time I realized how easy it is to miss a chemical hazard, I was doing a “quick” clean at the end of a shift. Someone had poured a clear liquid into an unmarked spray bottle. It looked harmless, like water with a bit of soap. I used it on a counter, then my eyes started to sting and my throat tightened the way it does when you walk too close to a smoky grill. Nobody had meant harm. It was just a shortcut, and shortcuts have a way of charging interest.
Chemical hazards rarely announce themselves. They sit quietly on shelves, in cabinets, in mop closets, and in “temporary” containers that become permanent. Learning how to spot them is less about fear and more about skill. When you know what to look for, you can work with confidence, protect your lungs and skin, and keep small mistakes from turning into serious incidents.
The Hidden Risk Of “Normal” Chemicals
Many workplace chemicals are familiar: cleaners, degreasers, solvents, fuels, adhesives, disinfectants, paints, and aerosol sprays. Familiarity can trick the brain into treating them like background noise. The same product that keeps equipment running can also irritate skin, burn eyes, trigger asthma symptoms, or react dangerously when mixed.
Hazards also change based on use. A chemical in a sealed container can be low risk. That same chemical poured, sprayed, heated, or used in a tight space can behave differently. Think of it like steam from a kettle. The water is ordinary until heat turns it into something that moves fast and reaches places you did not expect.
Instructions: Identify Chemical Hazards Safely
A safe approach is built on layers: know what you have, understand how it can hurt you, and control exposure. You do not need to memorize chemistry to do this well. You need a repeatable method that works on busy days when distractions are everywhere.
Use this practical checklist as your baseline. It gives you a way to slow down for 30 seconds and still move efficiently:
- Identify the product and confirm it is in the correct container
- Check the label for hazards, directions, and required protective gear
- Review the Safety Data Sheet (SDS) when the task is new or higher risk
- Look at the workspace: ventilation, nearby heat, ignition sources, and food areas
- Verify storage and compatibility before you put it away
- Report missing labels, strong odors, leaks, or damaged containers right away
This method is like driving with mirrors. You are not panicking about every lane. You are scanning so you can react early instead of slamming on the brakes.
Start With Your Senses, Then Trust The Data
Your senses can give early warnings, but they are not a measuring tool. Strong odors, watery eyes, headaches, dizziness, skin itching, or a sudden chemical taste in the air should prompt you to stop and recheck the product and the area. If you feel symptoms, treat that as meaningful information, not something to “push through.”
At the same time, some dangerous chemicals have weak odors, and some smells become less noticeable as you adapt. That’s why labels and SDS details matter. They tell you what your nose cannot, like whether vapors can build in low areas, whether a product can absorb through skin, or whether it reacts with common cleaners. When your senses and the written guidance disagree, trust the written guidance.
Read Labels Like A Map, Not A Sticker
A label is more than branding. It’s a condensed safety guide that tells you what the product can do to you, how to use it, and what not to do with it. When labels are missing or peeled off, you lose your map and you start guessing. Guessing is where most “accidents” begin.
Good workplaces treat proper chemical labeling as a daily standard, not a once-a-year training topic. That means every container is identified, hazards are visible, and secondary containers get labeled too. If you see an unmarked bottle, assume it is unsafe until someone verifies it. If you are the one pouring into a new container, label it immediately before you get pulled away to another task.
Understand Routes Of Exposure And Real-World Scenarios
Chemical hazards are not only about “toxicity.” They are about how chemicals enter the body and what conditions increase exposure. Most workplace exposures happen through inhalation, skin contact, eye contact, ingestion, or injection (like punctures from contaminated sharps or high-pressure equipment).
Here’s what that looks like on a real shift. A splash hits your forearm and you think, “I’ll rinse later.” That delay can mean more absorption. A solvent is used near a doorway in winter, ventilation is poor, and vapors concentrate. A spray disinfectant is used repeatedly in a small restroom, and over time it irritates airways. Safe work is often about tiny choices repeated many times.
When you learn the likely exposure route for a product, you can choose the right control. A skin hazard calls for gloves and washing. An inhalation hazard calls for ventilation and work practices that reduce mist and vapor.
Get Comfortable With SDS Without Getting Lost
Safety Data Sheets can look intimidating because they are detailed, but you do not have to read every line to use them well. Think of the SDS as a reference card that answers specific questions: “What can this do to me?” “What should I wear?” “What happens if it spills?” “Can it catch fire?” “What should never be mixed with it?”
When you pull up an SDS, focus on a few parts first: hazards, first aid, handling and storage, exposure controls, and spill response. If the chemical is new to you, or the task is new, take a minute to scan those areas before you start. That minute can prevent hours of downtime, medical visits, or equipment damage.
If your workplace uses a training program like a GHS hazCom course, the biggest value is learning how to find and apply SDS and label information quickly, even when you are under pressure. Training is only useful when it shows up in daily habits.
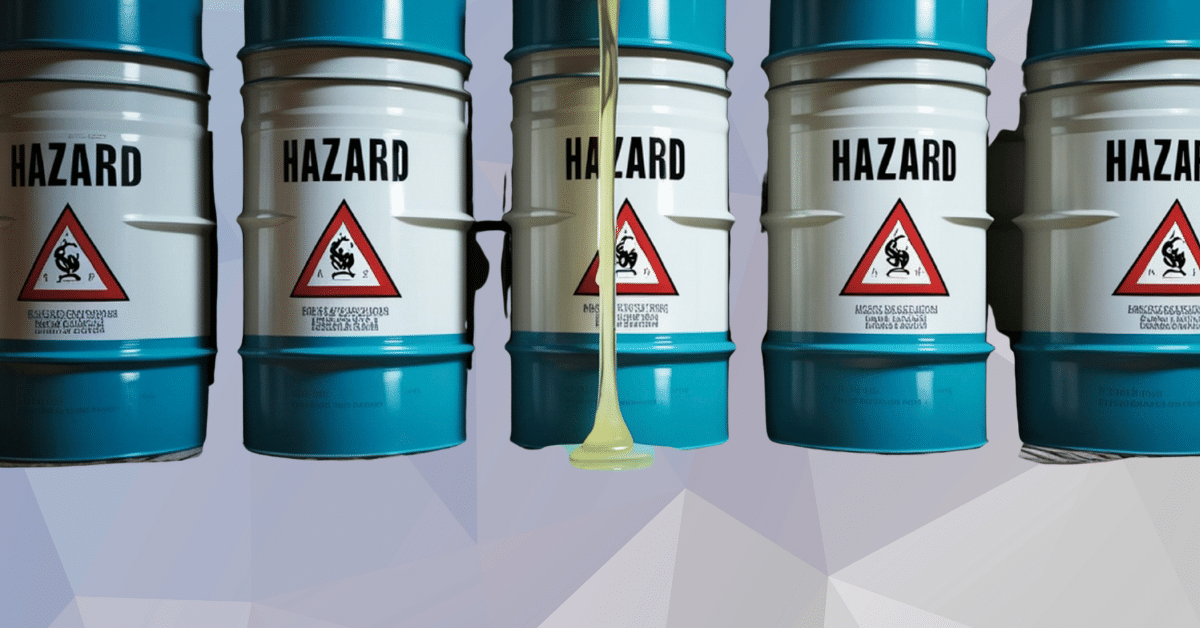
Spot Red Flags In Storage, Mixing, And Housekeeping
Many chemical incidents happen away from the main work area. They happen in closets, cages, cabinets, and “back room” spaces where people rush and visibility is low. These are the spots where small problems stack up.
Watch for common red flags that signal higher risk:
- Unlabeled secondary bottles or containers with handwritten shorthand nobody can interpret
- Leaking caps, crusty residue around lids, or containers stored on their side
- Strong odors in storage areas, especially when doors are closed
- Chemicals stored above eye level, where spills can hit the face
- Products stored near food, personal items, or break areas
- Incompatible products stored together, such as strong acids near bleach or oxidizers near flammables
- Rags soaked with solvent piled together instead of stored in the approved container
After you spot a red flag, do one more step: decide what you can fix safely and what needs escalation. Cleaning up a minor drip might be fine if you know the product and have the right supplies. Handling unknown containers is a “pause and report” situation.
PPE As The Last Layer, Not The First Plan
Personal protective equipment helps, but it is not magic armor. PPE works best when the hazard is already controlled through better practices, ventilation, and safer handling. Gloves, goggles, face shields, and respirators are tools, not permission slips to take bigger risks.
Start by matching PPE to the task. The “right” glove depends on the product, not on convenience. The “right” eye protection depends on splash risk and pressure. The “right” respiratory protection depends on the airborne hazard and the workplace program. If the work requires PPE you do not have, stop and ask. Borrowing random gloves from a drawer is like wearing sandals in a snowstorm. You might still make it through, but you will pay for it.
Also treat PPE as a cleanliness issue. Contaminated gloves can spread chemicals to phones, door handles, steering wheels, and faces. Build the habit of removing gloves correctly, washing hands, and keeping “clean” and “dirty” areas separate.
Safer Handling Habits That Work On Busy Days
A safety plan that only works on slow days is not a real plan. The goal is habits that fit into real schedules and real staffing levels. You want practices that feel like muscle memory, not a special performance.
These small habits reduce risk while keeping you efficient:
- Open containers slowly and away from your face, even if you “know” the product
- Pour at waist level when possible, not overhead
- Use pumps, funnels, or closed dispensing systems when available
- Keep lids on containers when not actively in use
- Never mix chemicals unless you have explicit instructions and training for that exact combination
- Label immediately after transferring, before you answer a call or respond to a coworker
- Wash hands before eating, drinking, vaping, or touching your face
Notice how many of these steps are about reducing exposure before PPE becomes the main defense. That’s intentional. The safest chemical is the one that stays in its container and out of your lungs and skin.
Special Situations: New Tasks, Tight Spaces, And Heat
Some scenarios raise risk even when the product is familiar. Confined or poorly ventilated areas can concentrate vapors. Hot surfaces can increase evaporation. High-pressure sprayers can turn liquids into fine mists that travel farther and reach deeper into the lungs.
If any of these conditions apply, slow down and treat the task as “new,” even if the product is not:
- Working in a small room, vehicle, tank, or enclosed space
- Using chemicals near heat, flames, welding, or sparks
- Spraying overhead or at high pressure
- Cleaning after a spill, leak, or unknown reaction
- Working around incompatible chemicals stored nearby
Before starting, do a short “space scan.” Ask yourself where air moves, where liquid could flow if spilled, and what could ignite. Then choose controls that match the setting, like opening doors, using local exhaust, limiting spray use, or selecting a safer method.
Build A Habit Loop: Ask, Check, Confirm, Report
The safest workplaces do not rely on perfect people. They rely on predictable systems and simple behaviors repeated every day. A habit loop is a short sequence you can run without thinking too hard.
Try this loop: ask, check, confirm, report. Ask what the product is and what the task requires. Check the label and SDS when needed. Confirm you have the right container, PPE, and ventilation. Report missing labels, damaged containers, and symptoms quickly.
Reporting does not have to be dramatic. It can be as simple as telling a supervisor, “This bottle has no label, I set it aside,” or “The storage cabinet smells strong today, can we check it?” Those small reports are how hazards get handled before someone gets hurt.
Closing Thought
Chemical safety is often quiet. It’s a labeled bottle, a moment of checking, a cap tightened fully, a fan turned on, a pair of goggles used every time instead of “most times.” Over a career, those small choices protect your lungs, skin, and eyes the way a good roof protects a house. You do not notice it on sunny days, but you are grateful when the storm hits.
If you want one action step after reading this, pick a single habit and make it automatic: label every secondary container immediately, or check the SDS for any new task, or stop work when symptoms show up. That one change can shift your daily risk more than people expect.