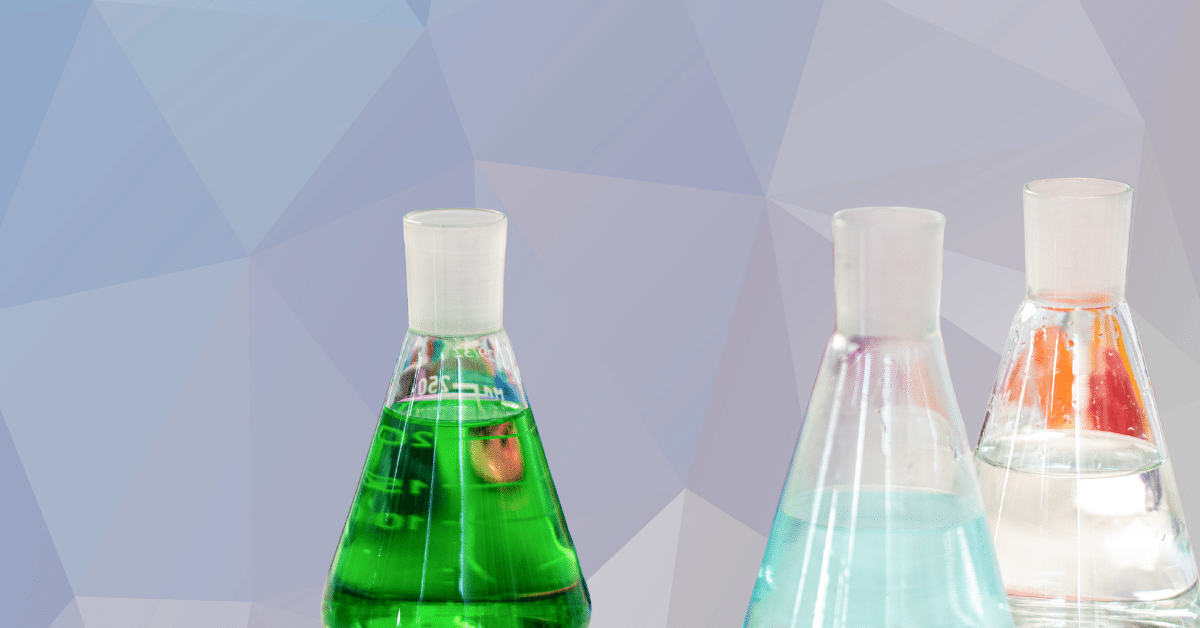
The first time I watched a new hire reach for the “blue bottle,” I felt my stomach tighten. Not because the bottle looked scary, but because it looked ordinary. Blue plastic. A trigger sprayer. No label anyone could read from a few feet away. The person holding it was doing what people do when they’re trying to help: moving fast, copying what they’ve seen others do, trusting that someone else set things up correctly.
That moment is why chemical labels matter. A chemical label is not decoration. It’s the difference between a routine task and a trip to urgent care. It’s a small piece of information that can prevent a big mistake, especially in busy workplaces where people rotate roles, share bottles, and work under time pressure.
Proper Chemical Labeling: The Plain-Language Purpose
Proper Chemical Labeling exists for one simple reason: people can’t avoid a hazard they can’t recognize. Labels turn invisible risk into visible information. They tell workers what they’re handling, what could happen if it spills or splashes, and what to do if something goes wrong.
A good label also reduces guesswork. In many workplaces, chemicals are transferred from a manufacturer container into smaller spray bottles, buckets, or secondary containers. Without clear labeling, that transfer creates a “mystery chemical” problem, and mystery is not a safety strategy.
What Workers Need To Read At A Glance
A label has to work in the real world: wet hands, loud rooms, fast shifts, and coworkers who speak different first languages. The goal is quick recognition, not perfect reading comprehension.
At minimum, a workplace label should tell a worker:
- What the chemical is (product identifier or common name)
- What the key hazards are (burns, flammable, toxic, irritant)
- How to handle it safely (basic precautions or PPE cues)
- Who to contact or where to find more details (SDS location or supervisor)
That information should be readable from a normal working distance. If someone has to pick up the bottle and squint, the label is already failing.
GHS Labels: The Standard Language For Hazards
Many workplaces follow the Globally Harmonized System (GHS) approach, which standardizes hazard communication so labels and safety data sheets speak the same “language.” This matters when employees move between jobs or when multiple vendors supply chemicals that look similar.
GHS-style labels commonly include:
- A product identifier
- Signal word (such as “Danger” or “Warning”)
- Hazard statements (what the chemical can do)
- Precautionary statements (how to prevent harm)
- Pictograms (simple hazard symbols)
- Supplier information
The power of GHS is consistency. When labels follow a familiar pattern, workers learn faster and make fewer assumptions.
Labeling Secondary Containers Without Slowing Work
Secondary containers are where labeling problems multiply. The manufacturer label may be perfect, but once the chemical is poured into a spray bottle, the safety information disappears unless you replace it.
This is where many teams cut corners because they’re trying to keep pace. The fix is to make secondary labeling easy. If the process is complicated, it will be skipped on the busiest day, which is the exact day you need it most.
Practical ways to keep secondary labeling realistic:
- Pre-print common chemical labels for your top 10 products
- Use waterproof labels that resist smears and splashes
- Keep a label station near the area where chemicals are mixed or poured
- Make the rule simple: “No label, no use”
- Add a quick supervisor check during shift start walkthroughs
Two paragraphs of policy won’t beat a simple setup that makes the right choice the easy choice.
What “Legible” And “In English” Actually Means
A label has to be legible, but legibility is more than “technically readable.” It means the label stays readable after normal use: exposure to water, friction, sunlight, and chemical drips. Faded ink and peeling corners are not minor issues. They are hazard blindfolds.
Many standards also require labels to be in English, but that does not mean you can’t add other languages. In multilingual workplaces, adding bilingual labels is one of the fastest ways to reduce mistakes, especially for high-risk products. The key is keeping the English content present and clear while supporting your team’s language needs.
Matching Labels To Safety Data Sheets
Labels are the front door. Safety Data Sheets (SDS) are the whole house. A worker might read the label to decide what gloves to wear, and then use the SDS to learn what to do if the chemical contacts skin or what to use for a spill cleanup.
That connection matters because labels and SDS content should align. If the label says one hazard and the SDS says another, employees lose trust in the system and start relying on memory or hearsay. A good safety program periodically checks that the chemicals on-site match the SDS library and that the labels reflect current hazards.
A simple audit habit helps:
- Confirm every chemical has an SDS on file
- Verify the SDS matches the exact product name and supplier
- Check that secondary container labels match the product identifier
- Replace missing or damaged labels immediately
- Remove expired or unknown chemicals instead of guessing
Pictograms That Help Workers Make Fast Choices
Pictograms are not there to look official. They are visual cues that cut through noise, language barriers, and busy moments. When used correctly, pictograms help workers slow down for the right reasons.
For example, a flame pictogram signals flammability, which might change where the product is stored. A corrosion symbol can cue stronger gloves or face protection. When workers learn these symbols, they can spot hazards even before reading the fine print.
That’s one reason many employers pair labels with a brief refresher or toolbox talk. It’s easier to remember a symbol than a paragraph.
Common Labeling Mistakes That Create Real Risk
Most labeling mistakes are not dramatic. They look like small shortcuts. But those shortcuts create the conditions where serious injuries happen.
Here are common mistakes that show up across industries:
- Using abbreviations only one person understands (“Degreaser A” vs “DG-A”)
- Handwriting that fades, smears, or becomes unreadable
- Reusing bottles without removing the old label
- Storing different chemicals in identical containers with no color or label distinction
- Leaving “temporary” unlabeled containers overnight
- Mixing chemicals without updating the label to reflect the new mixture
Each mistake increases the odds of cross-contamination, skin burns, respiratory irritation, or unsafe storage decisions. The risk compounds when staff turnover is high.
Training That Makes Labels Part Of Daily Habits
Training works best when it’s practical and repetitive. Instead of treating labeling as a one-time lesson, strong workplaces build it into daily routines: how to refill bottles, where labels are stored, and how to report missing labels.
This is also where a GHS hazCom course can support consistency. When employees learn the same hazard language across departments, labels stop feeling like “extra paperwork” and start feeling like part of how the workplace stays predictable. The most effective training includes real examples from your facility, not generic photos.
Training topics that land well in the real world:
- How to read a label in under 10 seconds
- What to do when a container is unlabeled
- How to label secondary containers correctly
- What pictograms mean and what actions they cue
- How labels connect to SDS and PPE choices
Using Labels To Prevent Chemical Mix-Ups
Some of the most dangerous incidents come from mixing incompatible chemicals. The classic example is mixing bleach with ammonia, which can create toxic gas. Many workplaces also encounter mixing risks with acids, sanitizers, and industrial cleaners.
Labels reduce mixing risk by making products identifiable before they’re poured. They also allow employers to set simple rules like “Only mix products in the designated area” and “Never mix unless the procedure says it’s allowed.” Those rules are easier to follow when containers are clearly labeled and stored in consistent places.
Storage layout supports labeling. When products are grouped by type and hazard, and shelves are marked, employees are less likely to grab the wrong bottle under pressure.
Labeling Practices That Support Incident Response
When an exposure happens, the label becomes a guide for the first few minutes. Those minutes matter. The label can help a supervisor decide whether to flush eyes immediately, remove contaminated clothing, or keep the employee away from ignition sources. It can also help emergency responders identify what they’re dealing with.
This is where labels help workers stay safe beyond routine work. They support fast, informed decisions when someone is scared and time feels tight. A workplace that treats labels as part of emergency readiness tends to respond more calmly and effectively.
A simple improvement is to include the product identifier clearly and consistently, so it matches what’s listed in your SDS binder or digital system. That match reduces confusion when someone is trying to find the correct sheet quickly.
A Simple Labeling System You Can Implement This Month
If your labeling approach feels inconsistent, you do not need a massive overhaul to start improving. You need a repeatable system that makes the safe choice easy and the unsafe choice inconvenient.
Start with these steps:
- Identify the top 15 chemicals used weekly and build standardized labels for secondary containers
- Create a label station with waterproof labels, markers, and a quick reference sheet
- Assign a weekly “label check” during a normal walkthrough
- Remove or quarantine any unknown container immediately
- Add a short training refresh that includes hands-on labeling practice
Two paragraphs of rules will never beat a workspace designed for compliance. When labels are available, durable, and easy to apply, people use them.